![]()
Taming the
Cisco Nexus 9000
Part 8: Reassembly
|
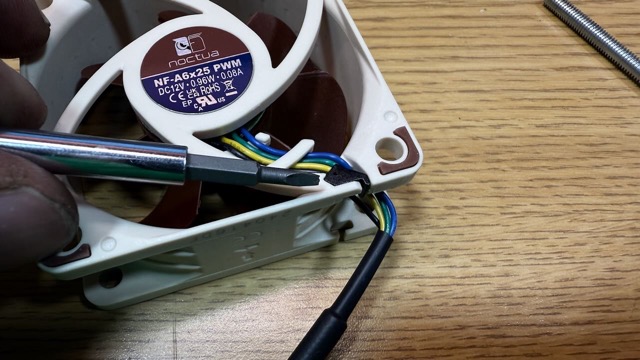
1. Using a fine screwdriver or probe, remove the black insert closing off the wire routing channel in the Noctua fan.
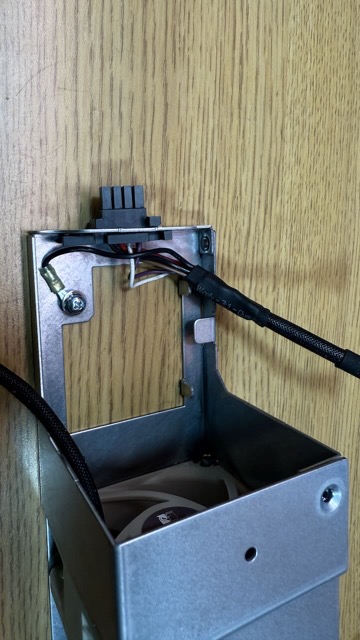
2. Gently free the fan wires from the routing channel.
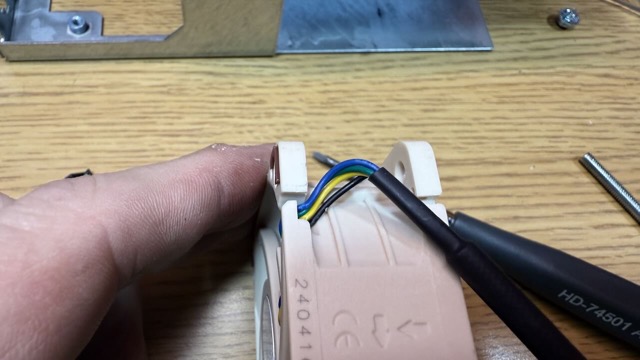
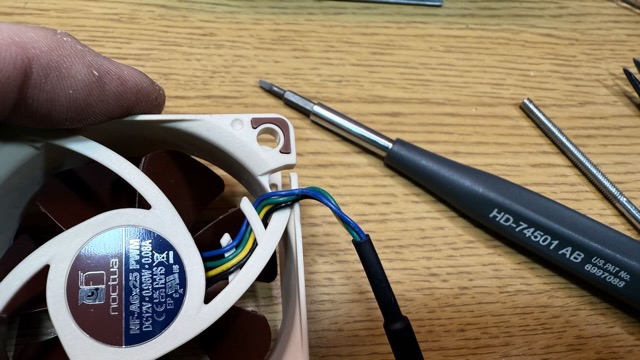
3. Inspect the Noctua fan. On one side, you will observe a pair of arrows molded into the fan frame. One shows the direction of airflow, the other the direction of rotation
4. You should also observe that, with the self-aligning connector facing you, the fan wires exit the fan at the LOWER LEFT corner.
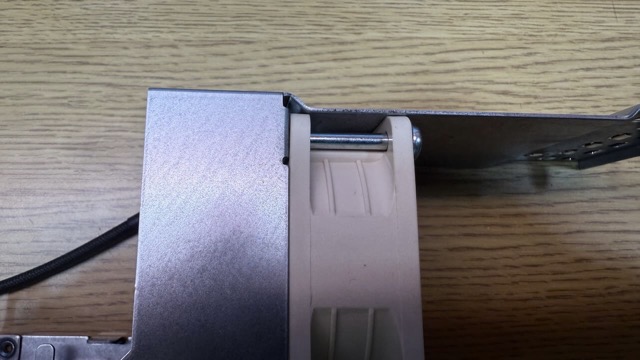
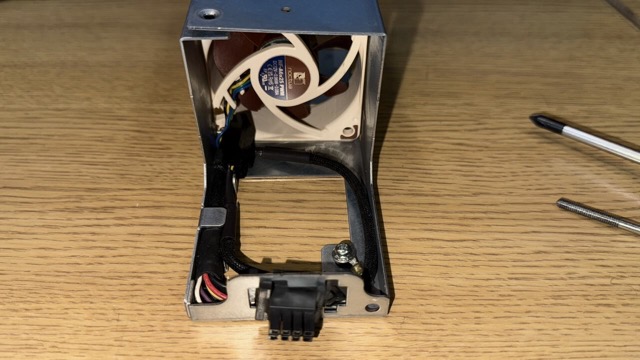
5. Reinsert the shortened securing bolt, and tighten it gently. The Noctua fan has rubber buffers on the corners, do not overtighten this bolt or the fan will not sit straight.
6. Reinstall the self-aligning connector and reattach the GND terminal with the appropriate screw.
7. Reroute the new harness, and connect the Noctua fan to the male end of the harness.
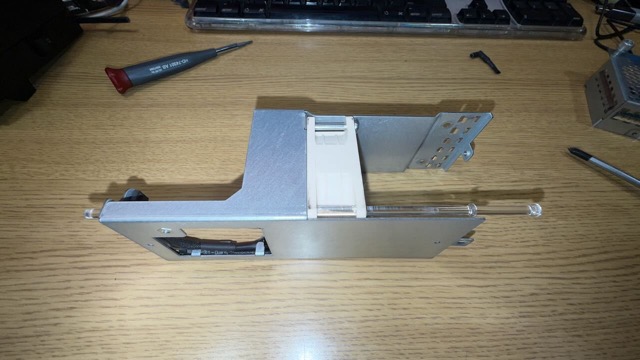
8. Reinstall the acrylic light pipe so that the end sits in the hole on the inner side of the fan module. There will be more play in the light pipe with the smaller single fan installed. This is fine.
8. Reinstall the screening plate, making sure the end of the light pipe nests into the hole in the screening plate.
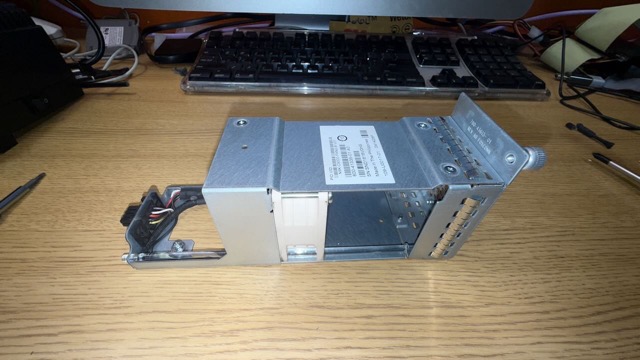
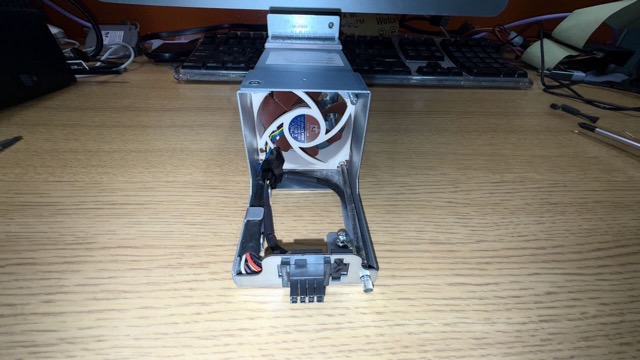
9. Final checkpoint. The module should have no protruding wires, all screws should sit flush, and the self-aligning connector should be in its proper position.
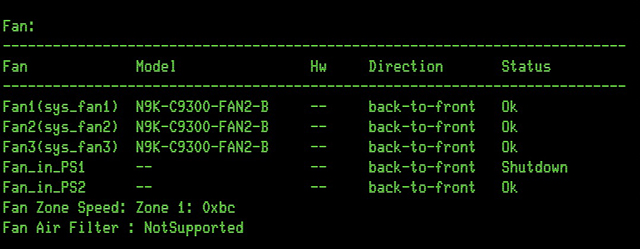
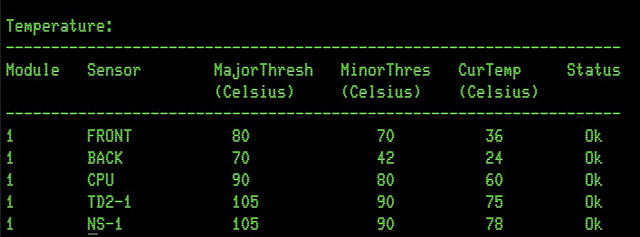
10. The moment of truth! Install the fan module, and log in to the NX-OS management console. Part 1 | Part 2 | Part 3 | Part 4 | Part 5 | Part 6 | Part 7 | Part 8 This information is supplied solely for educational purposes, and no claims are made as to its ownership or its fitness for any task. Commercial distribution or sale is strictly prohibited. All rights are retained by the original creators. |
|
|


Home FAQ The Files Full Text Search Site Updates
SheepShaver Unofficial Taming the Nexus 9000


Contents provided for educational purposes only.
Last modified Tuesday, 17-Jun-2025 04:23:07 UTC